This TV had an unusual problem where the backlight would flicker on every second. Researching on badcaps indicated the problem could be a blown resistor, the ADJ/DIM signal or bad LED. It uses an AUO T390HVN01.0 panel and may have the same design as Proscan PLDED3996A-C
For an LED TV, the RCA was unusually thick. The panel uses the box for a LCD backlight but with LED’s instead. The TV also has just one combined main and power supply board and a built in DVD player. I checked the menus for a backlight control but didn’t find one.
Taking the TV apart, there are many different screws so it would’ve been wise to mark where each type came from. Viewing the TV from the back confirmed the backlight was flashing. From the main board, there were 3 pairs of thin red/black wires going to the back of the panel and I assumed these were powering the LED strips used for the backlight. I measured about 25V steady on each red wire.
To look at the backlight, I removed the front bezel, lifted the panel and took a peek. The backlight configuration were three rows of ten LED strips The top row was out.
To get better access, I totally removed the LCD panel and diffuser panels. The circuit boards were attached to the bottom by double stick tape and had to be gently pried off. When I powered the TV up (with the panel disconnected), the working LED’s remained on but at low brightness.
With the power off, I had to determine which LED was out since they were in series like christmas lights. Some strips have test points marked with a plus and minus. If you set your DMM to diode test mode, you can confirm the diode is good since it will glow. The strips in this TV didn’t have test points so I scratched the side of the LED with a razor blade to expose the copper. You only need to do this once between each LED since they are connected in series.
I was able to find the dead LED and had previously salvaged a working strip from another TV. The replacement strip glowed the same brightness with the DMM test so I assumed it was suitable. To remove the LED, you need to pop off the lens and then glob some solder to pop it off. After 4-5 attempts and 2 LEDs later, I was able to get the replacement installed. The spacing between pads is very narrow and would short across if it wasn’t aligned perfectly.
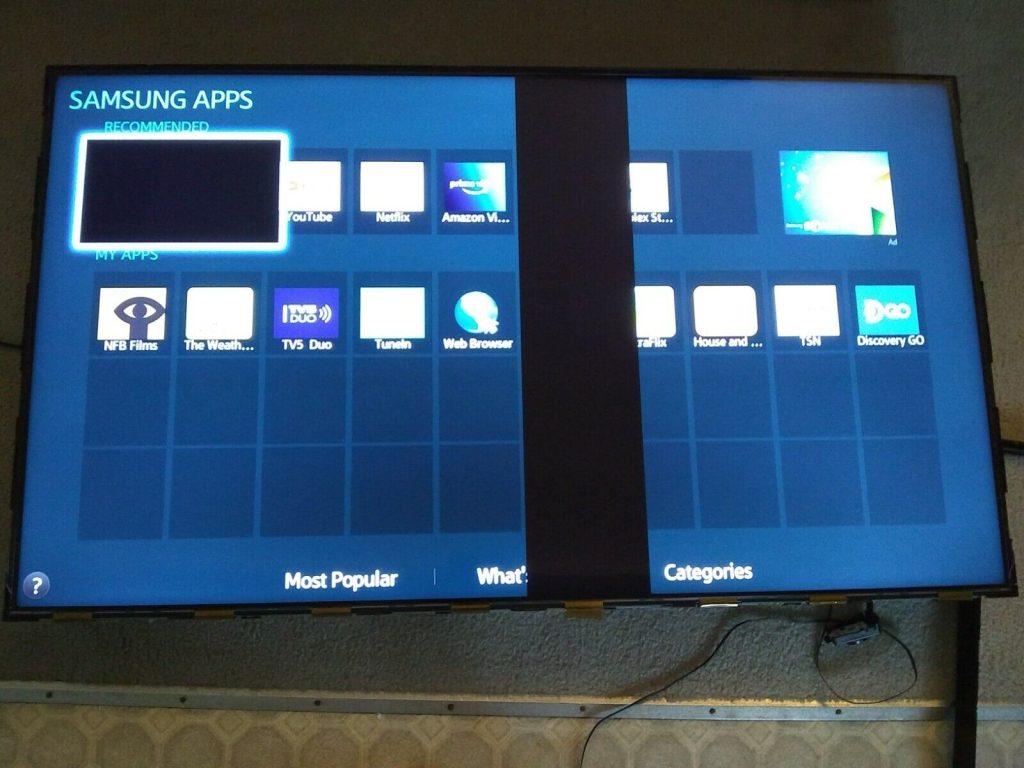
Plugging the TV back in, all three strips were now glowing. When I put the LCD panel back in, I realized I wasn’t careful enough and had cracked the LCD panel. When removing it, I had grabbed it by the sides and it flexed quite a bit. I had also kept all the layers together hoping to minimize dust getting on it. This actually caused it to flex more because of the weight.
Putting the TV back together, I realized what I should have done. With the front bezel removed, the LCD panel is actually free after prying off the circuit boards and disconnecting the LVDS connector. At this point I should have slid a stiff piece of cardboard underneath the panel and put it away somewhere safe. I could then unscrew the bottom bezel that was still holding the backlight diffuser panels.

